Ingredients~
Self-raising flour 120g
Castor sugar 120g (I reduced to 80g which I think just nice)
Butter or margarine 120g
Eggs 120g (about 2 eggs)
Vanilla essence 2g or as desired
Cocoa powder 4g and icing sugar 4g (I replaced with Milo 3 in 1 sachet)
Procedure~
1. Preheat oven at 180 degree Celsius.
2. Line a 20cm (8 inches) round cake with grease proof paper.
3. Sieve the self-raising flour and set aside.
4. Cream the castor sugar and butter/margarine until light and fluffy in a mixing bowl.
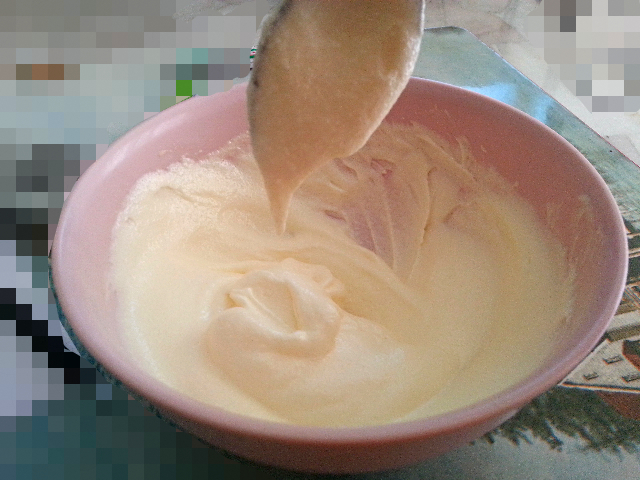
Blend butter and sugar by hand without the aid of mixing machines, it needs approximately 30 minutes to become fluffy.
5. Add in the eggs stage by stage and mix until even.
6. Add in the self-raising flour and vanilla essence and blend through.
7. Sieve the cocoa powder and icing sugar.
8. Blend the mixture of cocoa powder and icing sugar with approximately 70g of the batter from (6) until even.
9. Pour the batter (6) into a pan and followed by cocoa mixture. Use a spoon to create the desired marble design on top.
10. Bake approximately 30 to 45 minutes.
11. Allow the cake to cool on a wire rack after baking.
I made twice of this marble cake, the first time was with milk and baked for 30 minutes, the second time was with walnut and baked for 35 minutes as i prepared thicker batter.
Experience gained:
With 120g of flour, I recommend to add in about 1/2 ~ 1 cup of milk as this really make the cake softer and moister. The dryness of butter cake (with walnut) for the second time I baked might also due to 5 minutes longer baking time, I have no idea which is the contributing factor, but I guess was the addition of milk.
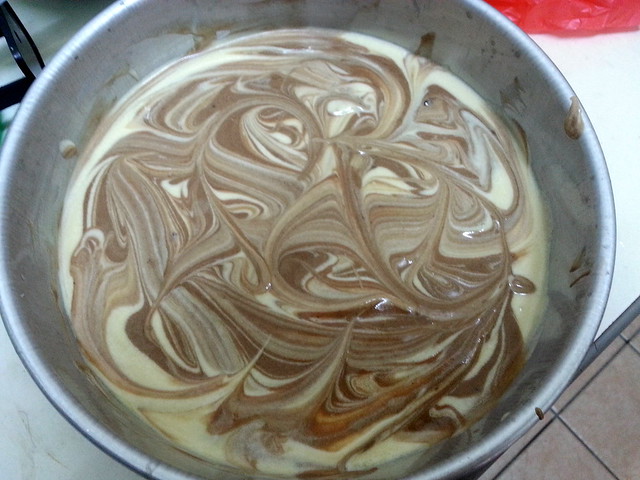
Random marble pattern simply created by a fork
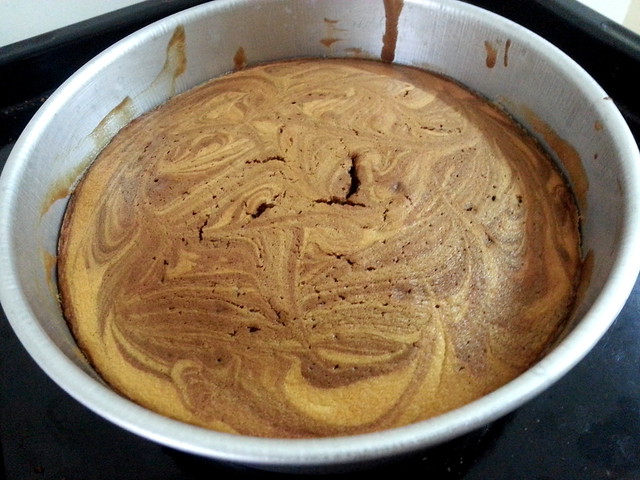
Masterpiece after 30 minutes~
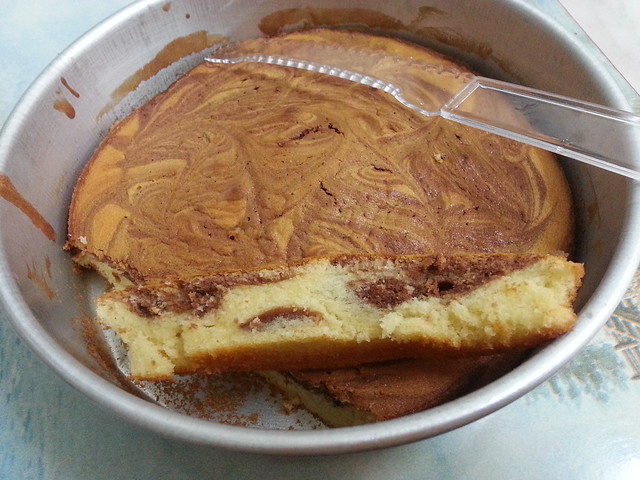
See the texture, it is so soft and moist, can't get enough of it!
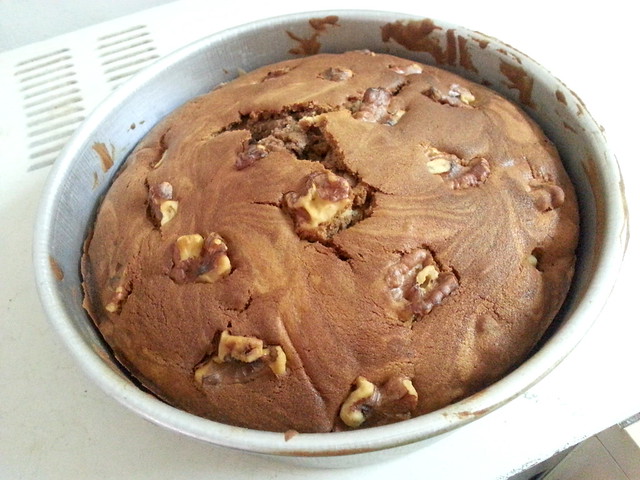
The second time I baked with the successful recipe, but this time turned out to be dried!
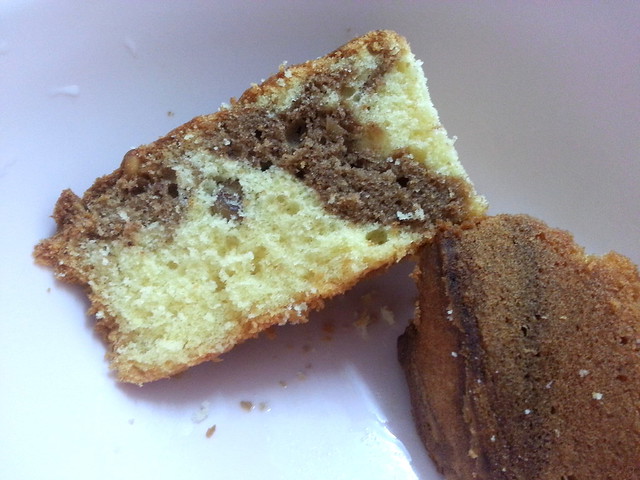
Taste wise it is not bad, it just has rougher and drier texture as compared to first time.
No comments:
Post a Comment